How to set up a Custom Cursor in Unity
Published - Last modified
Setting up a Custom Cursor in Unity using Project Settings
Replacing the default cursor by a custom Texture in Unity is quite simple:
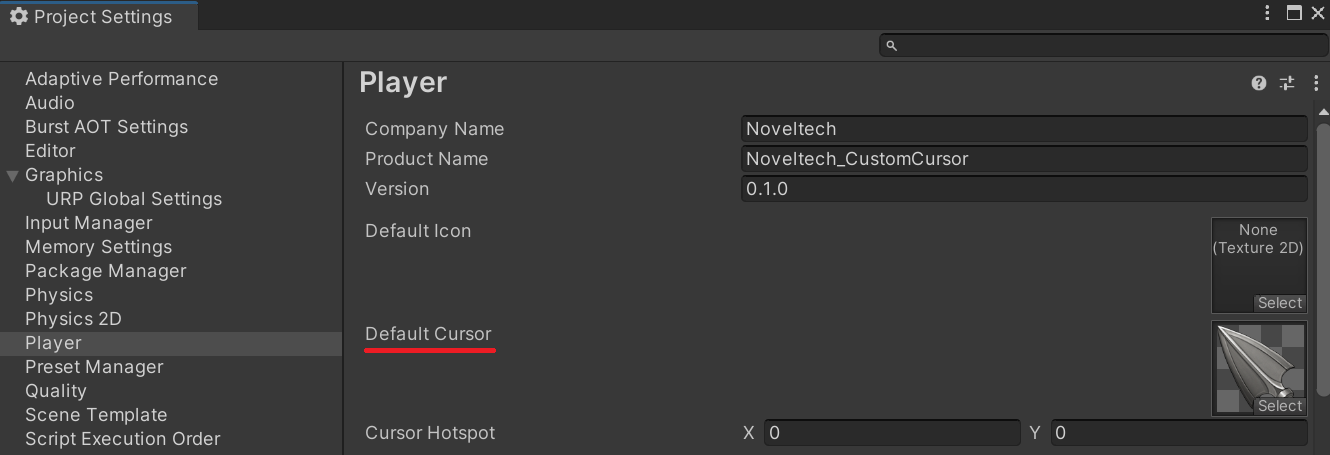
- Go to Edit -> Project Settings -> Player
- Set your texture in Default Cursor
- Adjust Cursor Hotspot to make it coincide with your new texture (cursor hotspot is where the click event is detected, i.e. the point of the mouse for the default cursor)
And you’re done! Well, almost. If the cursor still shows up as the default system cursor, or if you get a message error similar to “specified texture is not accessible by CPU”, make sure your texture as “Cursor”.
Unity actually exposes methods to swap between cursors at runtime. wintermutedigital has a guide on custom cursors which shows how to use these methods.
Setting up a Custom Cursor in Unity using a custom script
Now, the previous approach is good but it has a major drawback: the size of the cursor is set as 32x32 and it doesn’t seem possible to make it bigger.
If you used the previous method, first undo the setting of a custom cursor through the Project Settings menu.
To be able to set a custom cursor in Unity with a custom size, we’ll use a workaround using a canvas and an image element.
There are a couple of steps:
- Create a canvas and set its sort order to be rendered above existing UI elements
- Create a child object with an image component
- Set your cursor texture to the image component (this time set it as a normal texture or sprite, whichever works)
- Create a component with the code below and set your image object as mCursorVisual, and set displacement as needed.
using System.Collections;
using System.Collections.Generic;
using UnityEngine;
public class CustomCursor : MonoBehaviour
{
public Transform mCursorVisual;
public Vector3 mDisplacement;
void Start()
{
// this sets the base cursor as invisible
Cursor.visible = false;
}
void Update()
{
mCursorVisual.position = Input.mousePosition + mDisplacement;
}
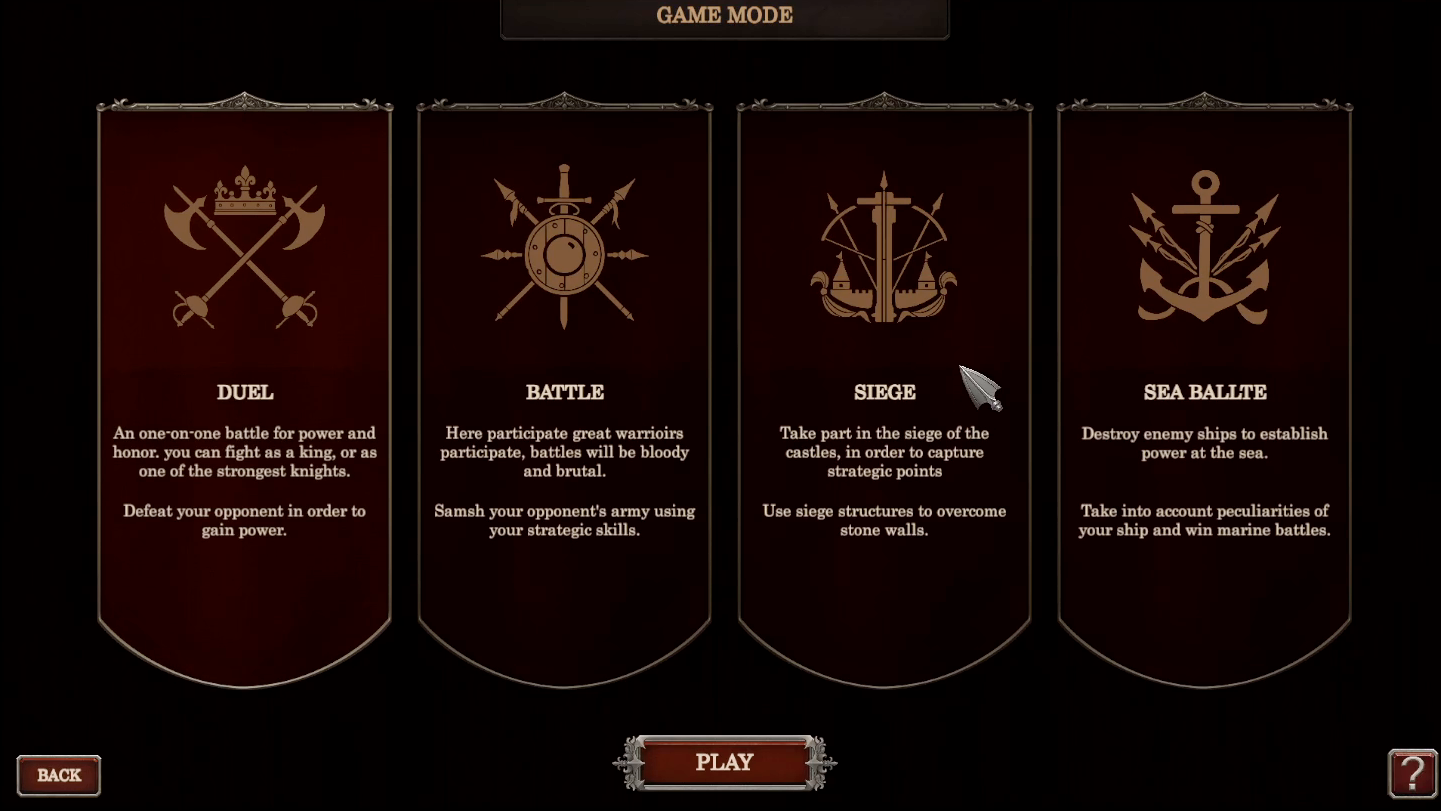
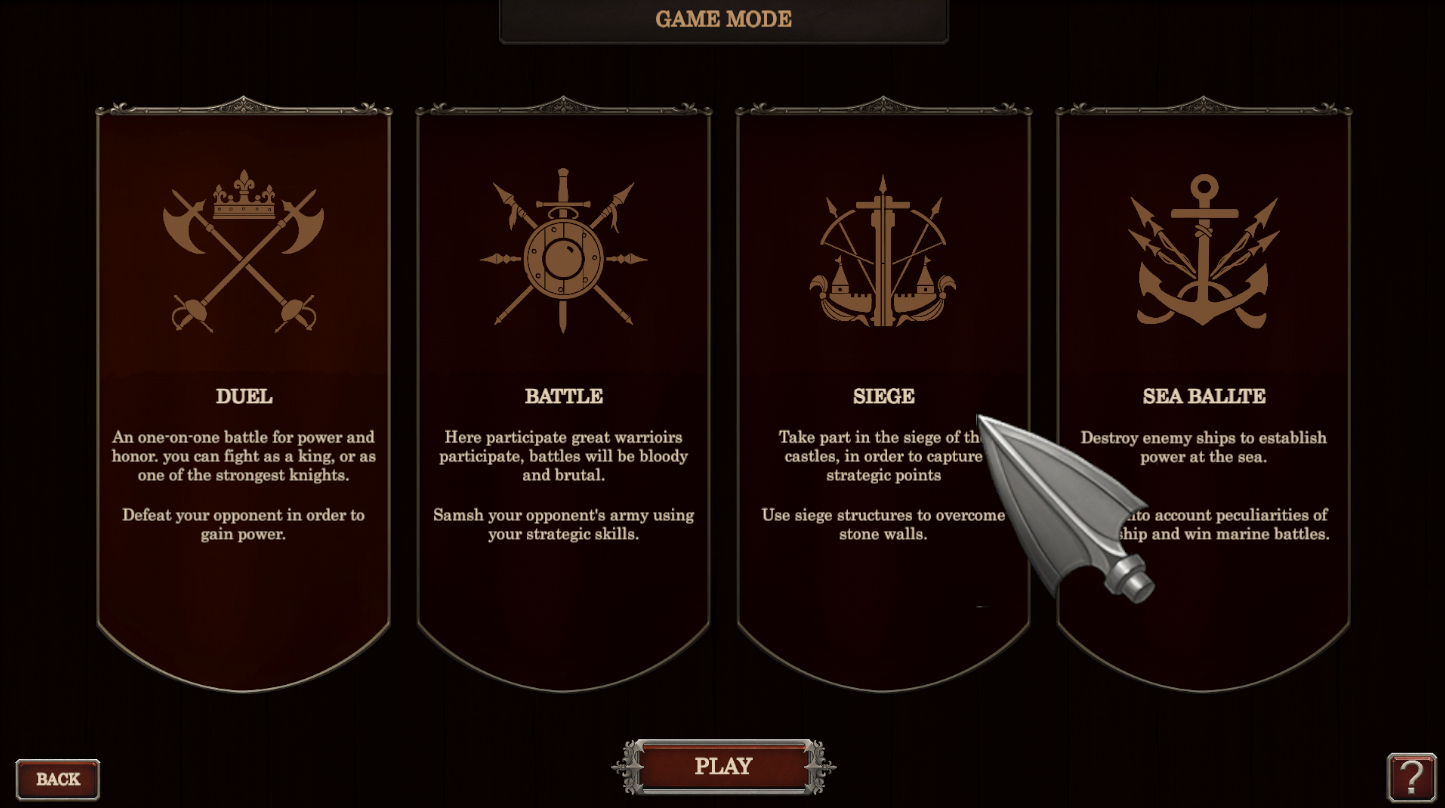
}Using this, the texture will be moving like the cursor, and the displacement vector works in the same way as the “Cursor Hotspot” of Unity settings.
For example, if the image for the cursor has a size of 256 by 256, then use a displacement of 128 by -128 so that the tip of our custom cursor is aligned with the tip of our actual, hidden cursor as seen in the following image.
Finally, don’t forget to remove raycasting detection from your canvas and image object! We want to allow our cursor to interact with UI elements just like a standard cursor.
Now, thanks to our setup, we get a resizable cursor that behaves just like a normal cursor. We can also use materials (and shaders) so we have a lot more capabilities compared to simply setting a default cursor.
Setting up a Custom Cursor in Unity using a custom script and a material or shader
With the previous approach, the cursor is actually an imagee on a canvas, so we are free to get creative and implement cool effects for our cursor through the usage of shaders.
We can reuse the previous code except this time we’ll use a material instead of an image, and that’s all the changes we’ll need to do!
I created a small example, with a shader using Shadergraph that modifies the Hue of the input texture depending on time. Then, we just need to put it on a material, and use that material in our image.
That’s it! Shaders open up a whole new world of possibilities for our custom cursor.
Still, final word of warning: depending on the version of Unity you’re using, and whether you are using Shadergraph or not, you may run into issues when creating a shader for your custom cursor or any UI element (as I did while writing this article actually).
There’s a thread on the Unity forum regarding this issue of UI shaders. The thread mentions that these issues were fixed in Unity 2023. Personally, I was using Unity 2021.3.10f1 at first when I ran into these issues, but they were solved when I updated to 2022.3.4f1.