How to Make a Loading Screen for Flutter Web in a few minutes
Published
As I’ve said before, Flutter for Web has a pretty big bundle size and even more so If you decide to also provide the WASM implementation of Skia to improve performance.
What we’ll talk about today is a way to make a Loading screen that will be shown while waiting for the Javascript bundle to be fetched (either downloaded or served from cache), parsed and ready to roll.
First, Some explaining
What I mean by bundle size is the size of the Javascript file that will render your app. Anyone that has some experience with Single Page Applications (SPA) knows that Javascript has a cost for the user. For those who don’t yet know about it, here’s a quick explanation of what happens when someone visits your website with an example using the Bundlephobia page for react-dom:
The user goes on the website
He then has to download all the CSS and JS files necessary for the app
- This takes time depending on your connection, with mobile users and their 2G/3G taking way more time than what you’ll see on your desktop.
Once and only once the download is finished can the browser finally process the Javascript. This process is heavily reliant on your user’s CPU with once again mobile users drawing the short end of the stick. (See the v8 blog for more info)
Only then can the user navigate and interact with your website
After taking a look at one of my older project, it seems using Flutter usually nets you a more than 1MB initial bundle which makes it quite prohibitive to load.
I’m not even talking about Flutter apps whose performance issues require the use of the WASM Skia build, adding an additional 6MB bundle to be loaded. (Even if WASM loads in a different way from Javascript that isn’t as impactful on performance).
Javascript loading and its optimization is a BIG subject. I invite everyone reading this post to check it out as there are quite a few low hanging fruits which can really improve both your loading time and your user experience.
Making the Loading Screen
The biggest issue for the user, is to be met with a blank page while the whole app loads. This leaves him wondering if he’s actually loading anything and if there is an issue.
One simple way to avoid this is to create a loading screen. Not only the user will then know that something is loading, it will also have a positive impact on the perceived speed / performance of the website.
So here we go, make sure you already have a Flutter project setup for web. I’ll show you how to add a full screen spinner to show the users while your app loads?
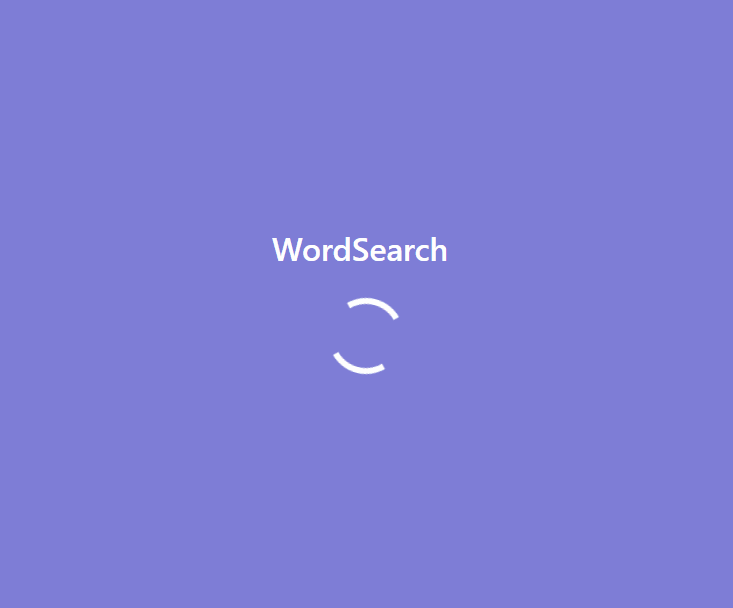
Our first stop will be loading.io in order to select a spinner. Choose whichever you fancy, click on it and get its HTML + CSS.
Our second stop will be our Web folder. Create a loader.css file and paste your newfound spinner CSS into it.
Every browser actually comes with a default styling. We’ll need to take care of it with the following CSS
body{
    margin: 0;
}

#loader {
  width: 100vw;
  height: 100vh;
  /* display: block; */
  display: flex;
  flex-direction: column;
  justify-content: center;
  justify-items: center;
  align-items: center;
  align-content: center;
  background-color: #7e7dd6;
}

#loader-title {
  font-family: -apple-system, BlinkMacSystemFont, 'Segoe UI', Roboto, Helvetica,
    Arial, sans-serif, 'Apple Color Emoji', 'Segoe UI Emoji', 'Segoe UI Symbol';

  font-weight: 500;
  font-size: 22;
  color: white;
}
This CSS will take care of a few things:
- Disable the margin that is usually set by default by your browser
- Center the loading spinner and the title
- Styling our loading text
Our next stop is the index.html file, we’ll have to add both our spinner and its associated CSS.
<head>
    <!-- removed for brevity -->
  	<link rel="stylesheet" href="loader.css">
    <!-- ... -->
</head>

<body>

<div id="loader">
    <h1 id="loader-title">My Loading Text</h1>
    <div class="lds-dual-ring"></div>
</div>

<!-- We'll tell flutter to remove the loader when it has finished loading -->

  <script src="main.dart.js" type="application/javascript"
    onendload="document.getElementById('loader').remove();"></script>

</body>
And you’re done. Serve for web and you’ll briefly see “My Loading Text” alongside your previously selected spinner.
Parting words
I’ve talked about loading times and there are a few more things you should know:
This long loading will only happen on a user’s first visit and whenever you push out new code to your Flutter app. The reason is simple: Chrome (and other browsers) will try and cache the content of your website. Your content is cached, recompiled for performance and will be loaded locally for every subsequent visit by your user.
BUT, and that's a big but, the Dart compiler for web that Flutter uses has a few issues related to caching. Web frameworks usually provide a way to cut your Javascript into parts and only load them when needed. Doing so also permits developers to cache all these different parts.What happens then is that users will only have to redownload the bits and pieces that have changed since their last visit. It is not quite the case with Flutter for web.
Open up your devtools, and you’ll see a main.dart.js file. This file contains your application as well as the whole Flutter framework. Every modification you make to your website will invalidate the cache for this specific file, even if you actually have set up async loading and split your app.
This means that every time you push a new version live, your user will HAVE to redownload this (quite heavy) file.